How to import vendor product details
A vendor product details import allows you to bulk-add or update vendor-specific information tied to your products — such as vendor product code, lead time, and price — without opening each product record individually.
Before you start: Make sure you have already imported your product details and your vendors into inFlow. Importing vendor product details requires selecting a specific vendor, so both the vendor and the products must already exist.
Creating the CSV template
This import handles products from a single vendor at a time, which helps you keep vendor-specific details accurate and organized. Therefore, the vendor name is not required in the CSV import file.
- In your spreadsheet, add the headings Product name and/or SKU, along with optional fields Vendor product code, Lead time days, and Vendor price. You must list the product name and SKU exactly as they appear in inFlow.
- Fill out the remaining columns.
- Save the spreadsheet as a CSV file.
The easiest starting point is to export your existing Vendor product details from inFlow (Main Menu > Settings> Export > Vendor product details). This provides you with a pre-formatted CSV containing your current data, which you can edit and re-import.

CSV field breakdown
- Product name and SKU: The product name and SKU must be exactly as they appear in inFlow
- Vendor product code: Use the code or part number your vendor uses for this product.
- Lead time days: Specify how many days it takes for this vendor to deliver this product.
- Vendor price: Enter the price your vendor charges you for this product.
CSV template info to keep in mind
- Product name and product SKU must match exactly what is already in inFlow. Spelling, spacing, and capitalization all count. If neither matches an existing product, inFlow skips that row.
- Use the decimal separator for Vendor price that matches your computer’s regional settings (e.g., 12.50 or 12,50).
- Enter a whole number for Lead time days (e.g., 7, not 7.5).
- Each row represents one product–vendor relationship. If you have multiple products for the same vendor, add one row per product.
Does your CSV include special characters?
Save your spreadsheet as a CSV UTF-8 (comma-delimited) file to import data that contains special characters (accented letters, symbols, etc.):
- In Excel, go to File > Save As.
- In the Save as type drop-down, choose CSV UTF-8 (comma-delimited).
- Click Save. Excel may warn you about formatting — click Yes to continue.
Importing the vendor product details CSV into inFlow
- Go to the Main Menu > Settings > Import.
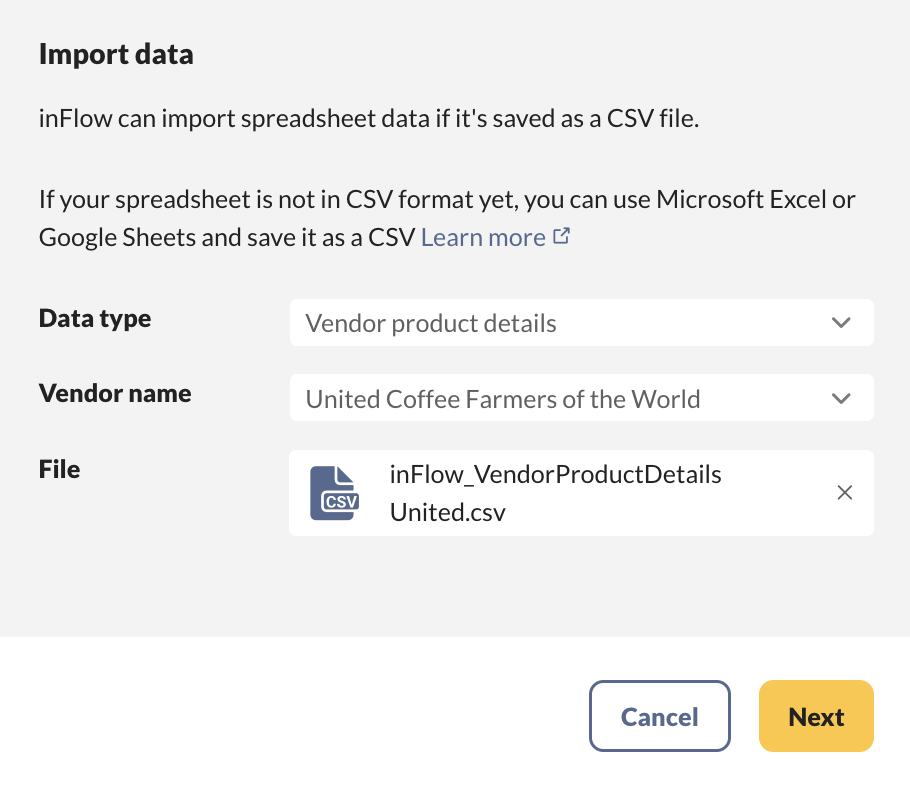
- In the Data type drop-down, select Vendor product details.
- A Vendor name drop-down will appear — select the vendor whose product details you are importing.
- Below, select the CSV file from your computer (or drag and drop it into the upload area), then click Next.
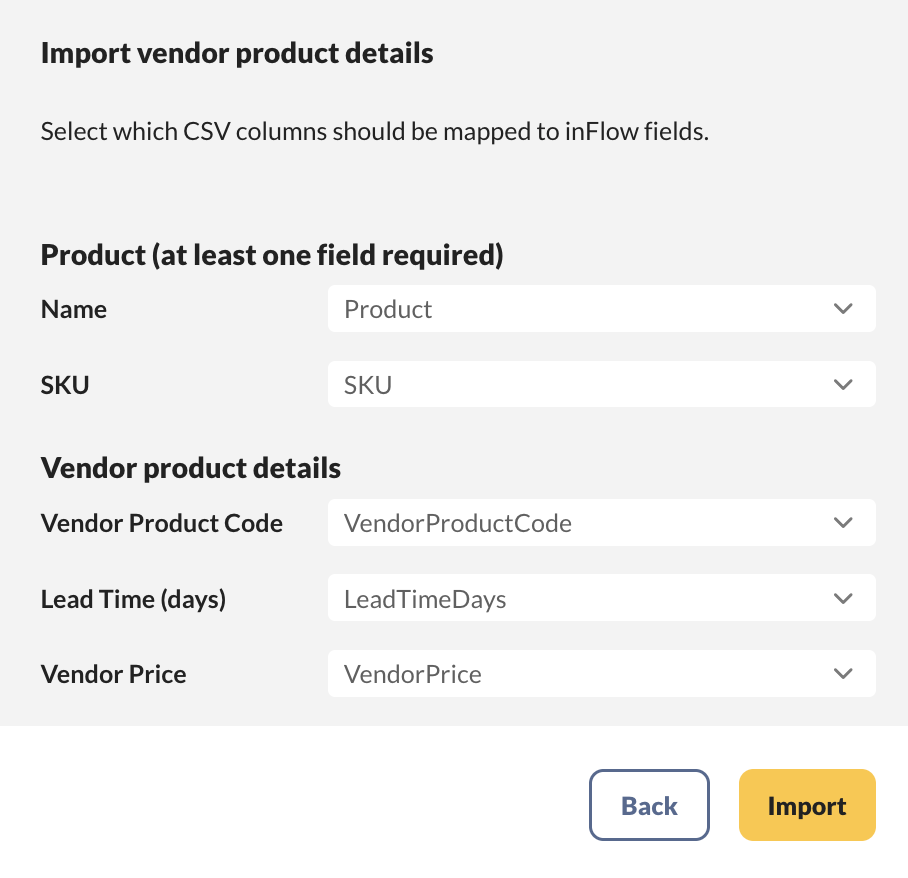
- inFlow automatically tries to match your column headers to the correct fields. If inFlow does not map any columns, use the drop-downs to manually match them.
- Once all columns have been mapped, click Import.
- The import runs in the background. inFlow emails you when it completes, along with a summary of the number of rows updated.
Each row in the results email represents one line in your CSV. If inFlow cannot match a product, it appears as a skipped row.


0 Comments