

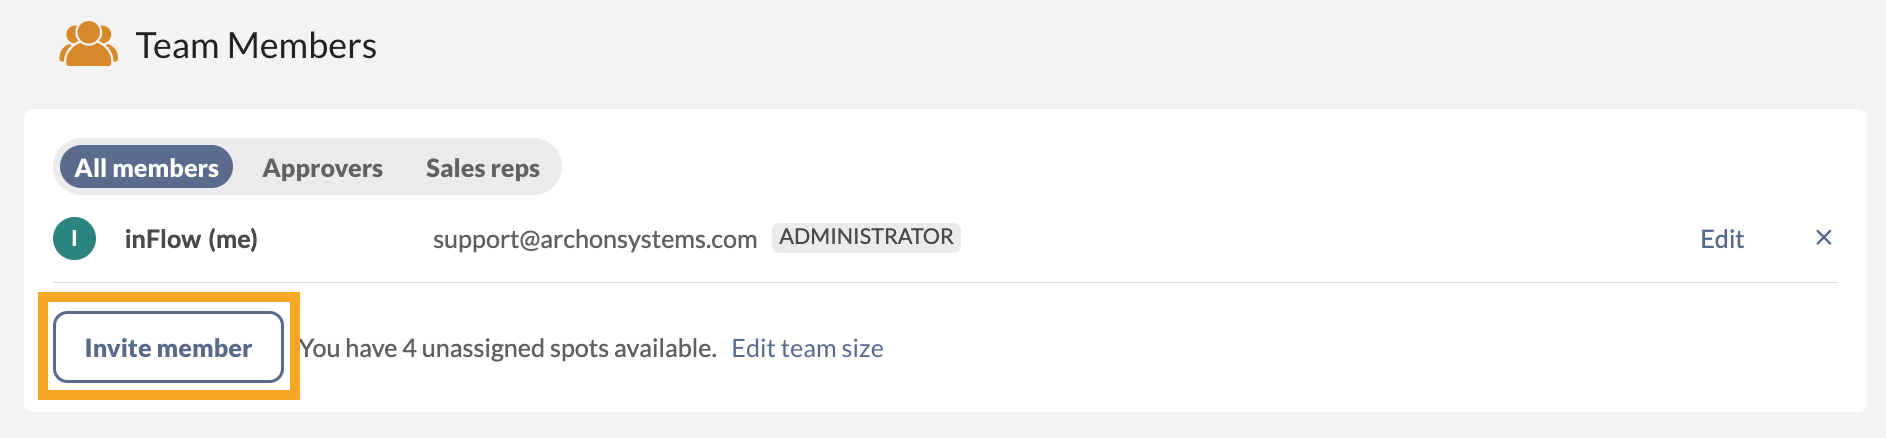
Invite your team to inFlow
In this first step, we'll go through the steps for inviting your team members to inFlow.
- With an administrator account, go to inFlow’s Team settings (Main Menu > Settings > Team.)
- Click on the Invite member button.
- Enter the email address and display the name of the person you're inviting, then click Next.
If you want to learn more about managing team members, take a look at this guide.
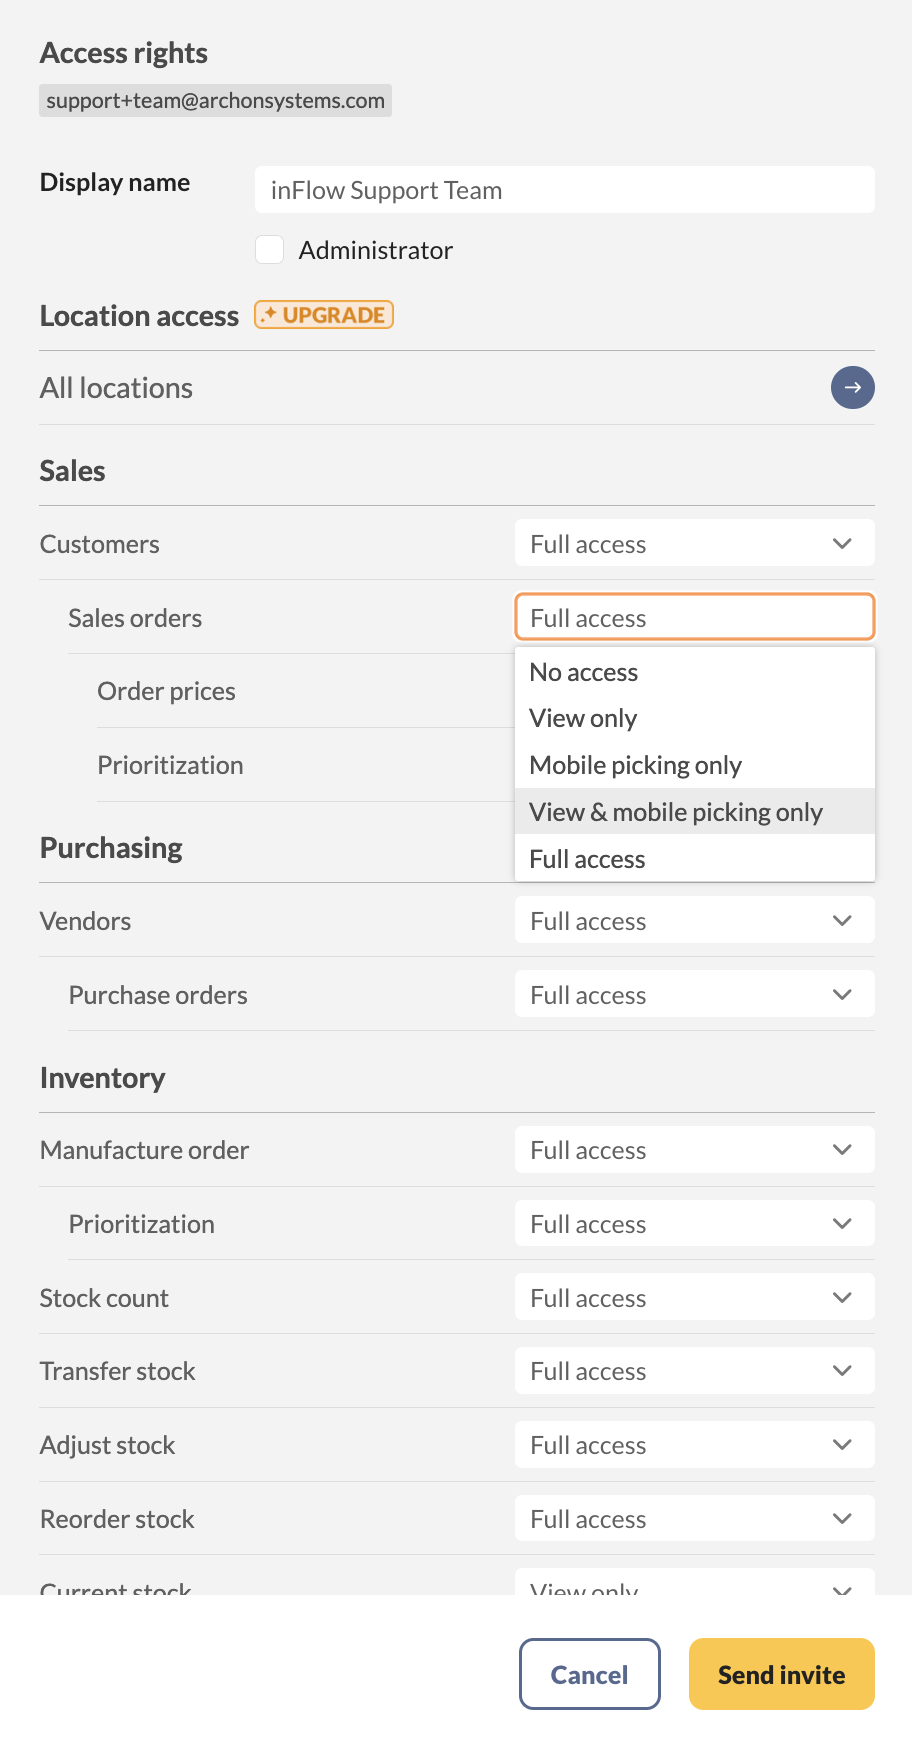
Setting up team member's access rights
- On this page, you can edit the team member's access rights for inFlow before you send the invitation.
- Once everything is set up, click Send invite to send the new team member a verification email to log into your inFlow database.
If you'd like to learn more, check out this detailed guide on team member access rights.
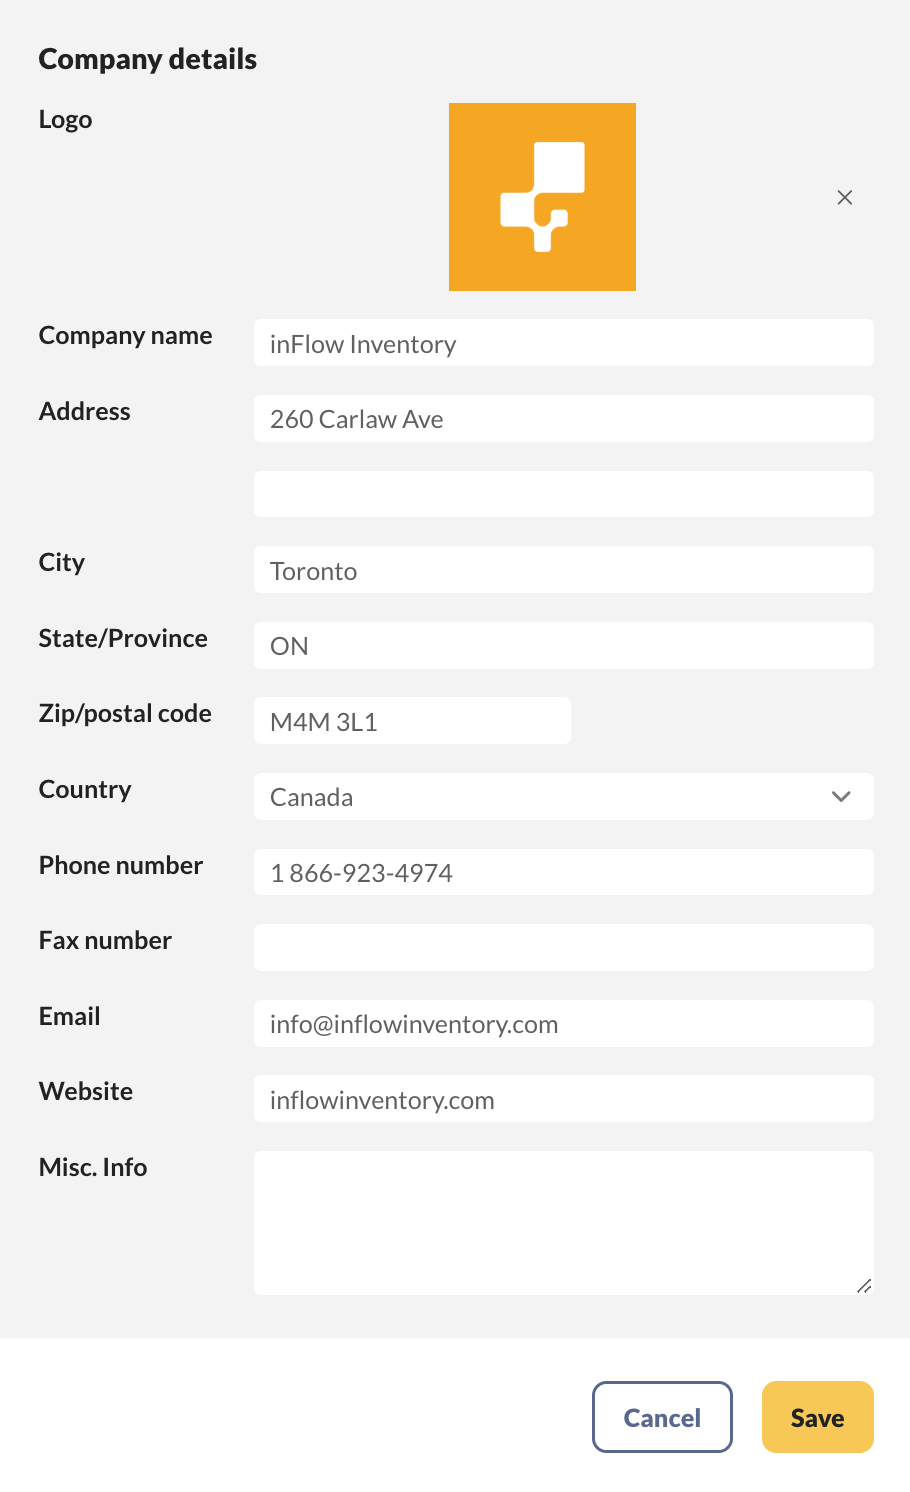
Add your company information & logo

Setting up your company details is essential for adding your company’s contact information that will be on your invoices and documents.
- It's important to add your company information and logo to tailor inFlow to your business.
- Your company name and address will appear on printed invoices and quotes, so it's essential to set them up to achieve a professional look.
- Go to inFlow’s Global settings (Main Menu > Settings > Global.)
- Select Company details.
- Click on Select image to add your company’s logo. Below, enter the company name, address, and other contact details.
- Click Save when done.
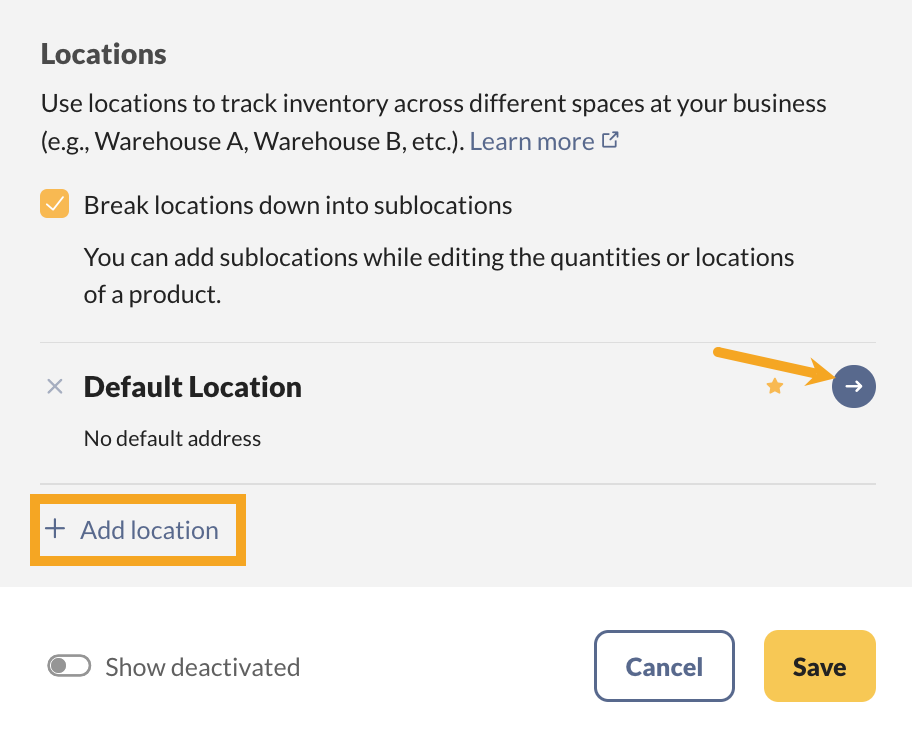
Adding locations
In this step, we suggest adding all your locations to inFlow. You should name locations after primary sites/buildings.
Sublocations are where you can track aisles or bins. If you'd prefer to get started quickly, we suggest renaming the Default location in inFlow to your primary/central location.
- Go to the Inventory settings. (Main Menu>Settings>Inventory.)
- Select Locations.
- Click on the arrow next to Default location to rename this to the name of your main location. Remember, name locations after building sites, not a room within a building, for the reordering feature to work correctly!
- If you want to add an address to the location, click +Add address.
- Click on the blue arrow to return to the main location screen.
- Click + Add location to enter another primary location to inFlow.
- Click the star to the right of a location to set that as the default location for inFlow.
- Click Save when done.
To learn more about tracking locations in inFlow, take a look at this guide.
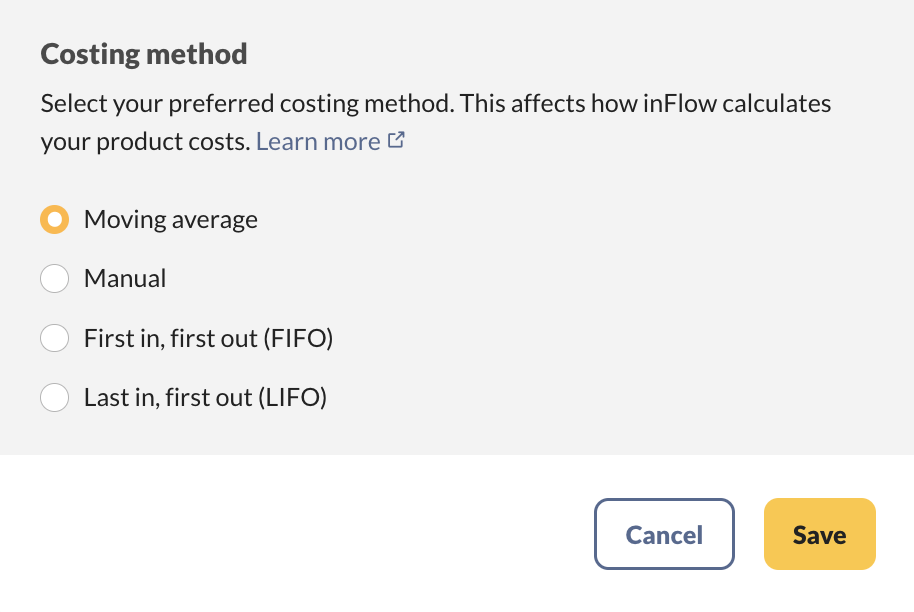
Setup inFlow's costing method
Before adding products to inFlow, it's important to set how inFlow should calculate the product costs.
The default costing method is Moving average costing. If you'd like to change this setting, see below.
- Open the Global inFlow settings.
- Select Costing method.
- Select the desired costing method setting, then click Save.
- Type CONFIRM in the type-in field, then select Proceed.
- inFlow will start recalculating. Changing costing methods could take some time, depending on how much data is in inFlow.
To learn more about how inFlow calculates cost, check out this article, watch this explainer webinar, or take a look at this setup video.
Restricting access to closed/completed orders
With select inFlow plans or add-ons, you can set up protections to prevent completed orders from being modified. inFlow Admins can make changes at any time.
- Go to Global settings (Main Menu > Settings > Global.)
- Click on Close transactions.
- You can set the number of days after fulfillment for orders to close or all transactions before a specific date to be marked as completed.
- Click Save when done.
Take a look at this guide to learn more about how to protect completed orders.

Creating the CSV product import file
- Download the inFlow product import CSV template from here. You can also create a CSV from scratch. The only required column to create products is "Product Name."
- Fill out the columns on the CSV spreadsheet with your product information. The CSV should include both raw materials and finished products. This will make importing bill of materials lists quicker when you’re ready for that stage.
- When done, save the template as a CSV file. Now you're ready to import these products to inFlow!

Note: This CSV template will create only stocked products. To add serialized, non-stocked, or non-stocked products see the steps below.
Filling out the CSV is an excellent time to add product costs, SKUs, Barcodes, and more. This guide explains the fields you can import.
You can also add product categories to the product CSV file. Categories help organize products, which can be very helpful when managing raw materials from assembled finished products.
Note: You can only import costs when inFlow's costing method is Moving average or manual costing.
How to add serialized products to a CSV import template
If you’d like to import serialized products, you’ll need to add some additional columns to the CSV file. Take
- Add two columns to the CSV file: ItemType and TrackSerials
- In the ItemType column, enter "Stocked product" without quotation marks.
- In the TrackSerials column, enter "TRUE" without quotation marks.

You can also add the below optional serialized product columns
- SerialPrefix: Enter the prefix that inFlow should use when generating serial numbers for this product
- SerialNextNumber: This is the next serial number that inFlow should generate. This is helpful for continuing a serialized number sequence.
- SerialSuffix: Enter the suffix that inFlow should use when generating serial numbers.
How to add service products to a CSV import template
- On the CSV template, add a column called ItemType.
- In the ItemType column, enter the word "Service" without quotation marks.

How to add non-stocked products to a CSV import template
- On the CSV template, add a column called ItemType.
- In the ItemType column, enter the word "Non-stocked product" without quotation marks.

Importing the product CSV to inFlow
Once your CSV is complete, you can import your file to inFlow.
- Click on Main Menu > Import.
- In the Data type drop-down menu, select Product details.
- Select the CSV file you want to import from your computer, then click Next.
- A preview of your import file will show you how many products you have in your file.
- To ensure all the CSV data matches a field in inFlow, click Edit data mapping.
- The fields below the preview represent fields in inFlow. Match to the fields in the drop-down menus. This process is called mapping. Match the inFlow fields listed on the left to the fields in your CSV file that are in the drop-down menus.
- Match the inFlow fields on the left to the fields in your CSV file in the drop-down menus.
- Once you're satisfied with the mapping, click Next.
- A confirmation message will let you know your import is in progress. Once the import is complete, you'll get an email with the results.
For an in-depth guide on importing data, take a look at this guide. You can also take a look at this article for more on importing products.
Setting up costs & starting inventory levels

When importing your products, you also have the opportunity to import the product costs. But if you still need to import them, repeat the steps for importing product details and focus only on the product name and cost field to import the costs.
Once costs are in inFlow, you can import the stock levels to add your product quantities to inFlow with a stock levels import.
You can only import costs when inFlow's costing method is Moving average or manual costing.
Customer & vendors (Optional)

Creating a CSV template
The only required field is "Name," but you can input other fields, such as address, currency, and contact.
In inFlow, the Name field is unique. inFlow can't create duplicate records with the same name.
We suggest adding company names to the Name field and adding reps to the Contact field.
Importing customers/vendors to inFlow
- Click on Main Menu>Import.
- Select Vendor or Customer from the Data type drop-down menu.
- Select the CSV file from your computer, then click Next.
- Match the fields on the left to the fields in the drop-down menus.
- Click Import when done. You'll get an email with the results when the import is complete.
Take a look at this guide to learn more about importing customers and vendors.

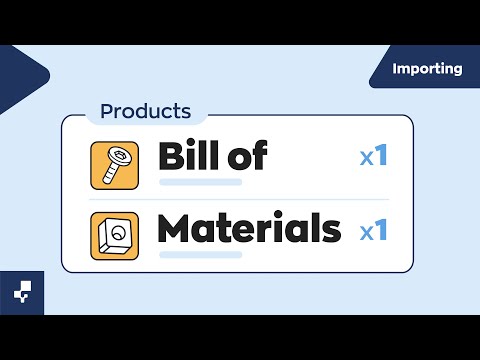
Bill of materials
Now that products are in inFlow, we recommend adding a bill of materials list to the manufactured products. The bill of materials contains the raw materials, operations, and costs that go into assembling a single unit.
To truly understand how inFlow effectively calculates manufacturing product costs, take a look at this guide.
You can import bills of materials to your products in bulk with CSV imports.
Creating a bill of materials CSV
- On your spreadsheet, add the headings FinishedProduct, ComponentProduct, Quantity, and QuantityUom (optional.)
- Fill out the FinishedProduct column, then a component in the ComponentProduct column. Each component product should have its own row.
- Fill out the Quantity and optional QuantityUom.
Note: Group all rows with the same FinishedProduct together so that inFlow can include them in the same bill of materials.
Importing the bill of materials CSV to inFlow
Look below for steps for importing a bill of materials for inFlow Cloud for Web.
- Click on Main Menu > Import.
- In the Data type drop-down menu, select Bill of materials.
- Below, select the CSV file from your computer, then click Next.
- Match the inFlow fields to your CSV file in the drop-down menus.
- Once you're satisfied that all the fields match, click Import.
- A confirmation message will show that your import is in progress. When the import is complete, you'll receive an email with the results.
Take a look at the video below to learn how to create a bill of materials list for a product manually in inFlow.

Manufacturing operations
A vital part of tracking your assembly process in inFlow is adding the steps and instructions for manufacturing each product. In inFlow, these are called Operations.
When filling out a bill of materials, you can add the Operation type to indicate the stage of the manufacturing process the product is in, and below the instructions can added.
Importing a CSV, you can add operations to your products in inFlow in bulk. This guide provides detailed instructions.


Product bundling

If your team sells products individually and as a group, you'll want to use inFlow's bundling features.
When bundles are made, inFlow updates the inventory levels of the individual products. Bundling uses inFlow's bill of materials and manufacture settings. This guide explains how to set up bundling.
Look at this guide to learn how to import product bundles to inFlow in bulk.
Generate barcodes

If your team doesn’t have barcodes on your products, inFlow can generate them for you.
- Go to the Inventory settings in inFlow (Main menu> Options> Inventory.)
- Under Barcode types, click on Generate.
- Toggle ON Auto-generate internal barcodes for current and future products.
- Click on the Generate button when done.
Setting up product reordering (products low in stock)
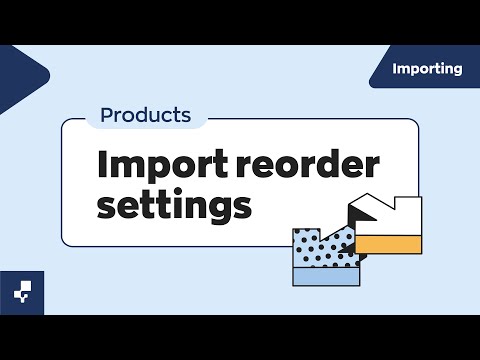
Setting up reordering is vital to ensuring you always have products in stock. You can set up reordering per product or import reorder settings to inFlow in bulk. See below for importing steps.
Create a reorder settings CSV template
- Main Menu> Export.
- Select Reorder settings, then click Export.
- Save the CSV to your computer.
Editing the reorder settings CSV
- Add your products to the ProductName column.
- Next, add the location of your products.
- From here, you can add information to the optional columns.
If you have the same product in multiple locations, add a row for that product for each location.
Importing the reorder settings CSV
- Go to Main Menu> Import.
- Select Reorder settings from the Data type drop-down menu.
- Below, select the reorder settings CSV file.
- Click Next.
- Match the inFlow fields to the left of the CSV fields in the drop-down menus.
- Click Import when done. You'll receive an email with the results when the import is complete.
Take a look at the video below to learn how to edit reorder settings on individual products.


To connect inFlow to QuickBooks Online, follow this guide.

To learn how you can manage payments in both inFlow and QuickBooks Online, take a look at the video below.

To connect inFlow to Xero, follow this guide.

The most popular ecommerce platforms are:
If your company has a developer on your team, you can create a custom integration using inFlow’s API.
To manage shipping labels, you can connect inFlow to EasyPost.
Many eCommerce solutions support variant products, but inFlow does not offer this feature. You can still use inFlow with these eCommerce solutions if your products have matching SKUs. For a solution on how to track variant products, please check this link.
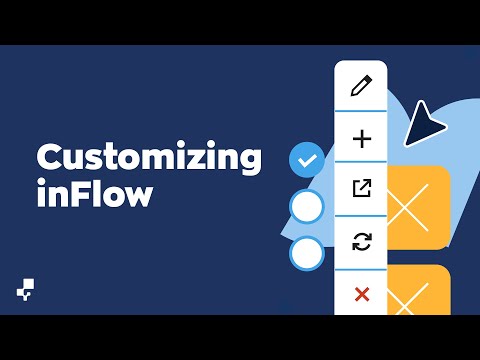
In this part of the guide, we'll cover ways to personalize inFlow for your company.
Label printing
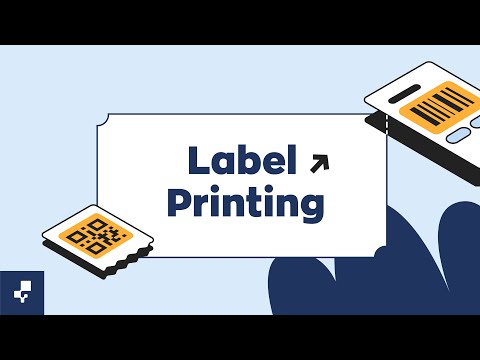
If your products have barcodes but no labels, then inFlow can help! inFlow's Label Designer allows you to create a label template that fits your needs and print it from any printer you choose.
Follow the steps in the Label printing guide to learn more.
Renaming fields
If your team uses specific terms, renaming inFlow fields to match your company's terminology will keep your workflow seamless.
- Go to inFlow's Global settings, then click on Rename fields.
- In the Rename fields window, search or scroll for the field you want to rename.
- Type in the new field name in the Custom text field.
- Click Save when done.
Custom fields
Custom fields are helpful fields that your team can use to track information that isn’t already in inFlow. All orders and products have ten custom fields that can be customized.
- From the Main Menu, click on Settings > Global.
- Click Custom fields.
- Select the section you want to create a custom field within (e.g., Sales order, Purchase order, Product, etc.)
Document designer
In inFlow, you can customize documents to suit your company’s unique needs. This can be for adding additional branding to invoices or creating documents that inFlow doesn’t have by default.
To learn more, take a look at the Document Designer article.

Email designer
If your team regularly sends emails to customers and vendors, the Email Designer makes it easy to create templates and customize the emails for all recipients.
Take a look at the Email Designer article to learn more.


0 Comments